Polythene water pipes are commonly used for transporting water in various plumbing systems. However, they are prone to damage due to wear and tear, accidental punctures, or poor installation. A leaking polythene pipe can lead to low water pressure, increased water bills, or even water damage to your property. Therefore, it is essential to know how to fix a leaking polythene pipe before it becomes a bigger problem.
In this blog, we will guide you through the steps to repair a leaking polythene pipe using a DIY approach. With this simple guide, you can save money on hiring a plumber and fix the leak yourself.
Step 1: Turn off the water supply
Before starting any repair work, it is essential to turn off the water supply to the affected area. This will prevent further water leakage and unnecessary water wastage.
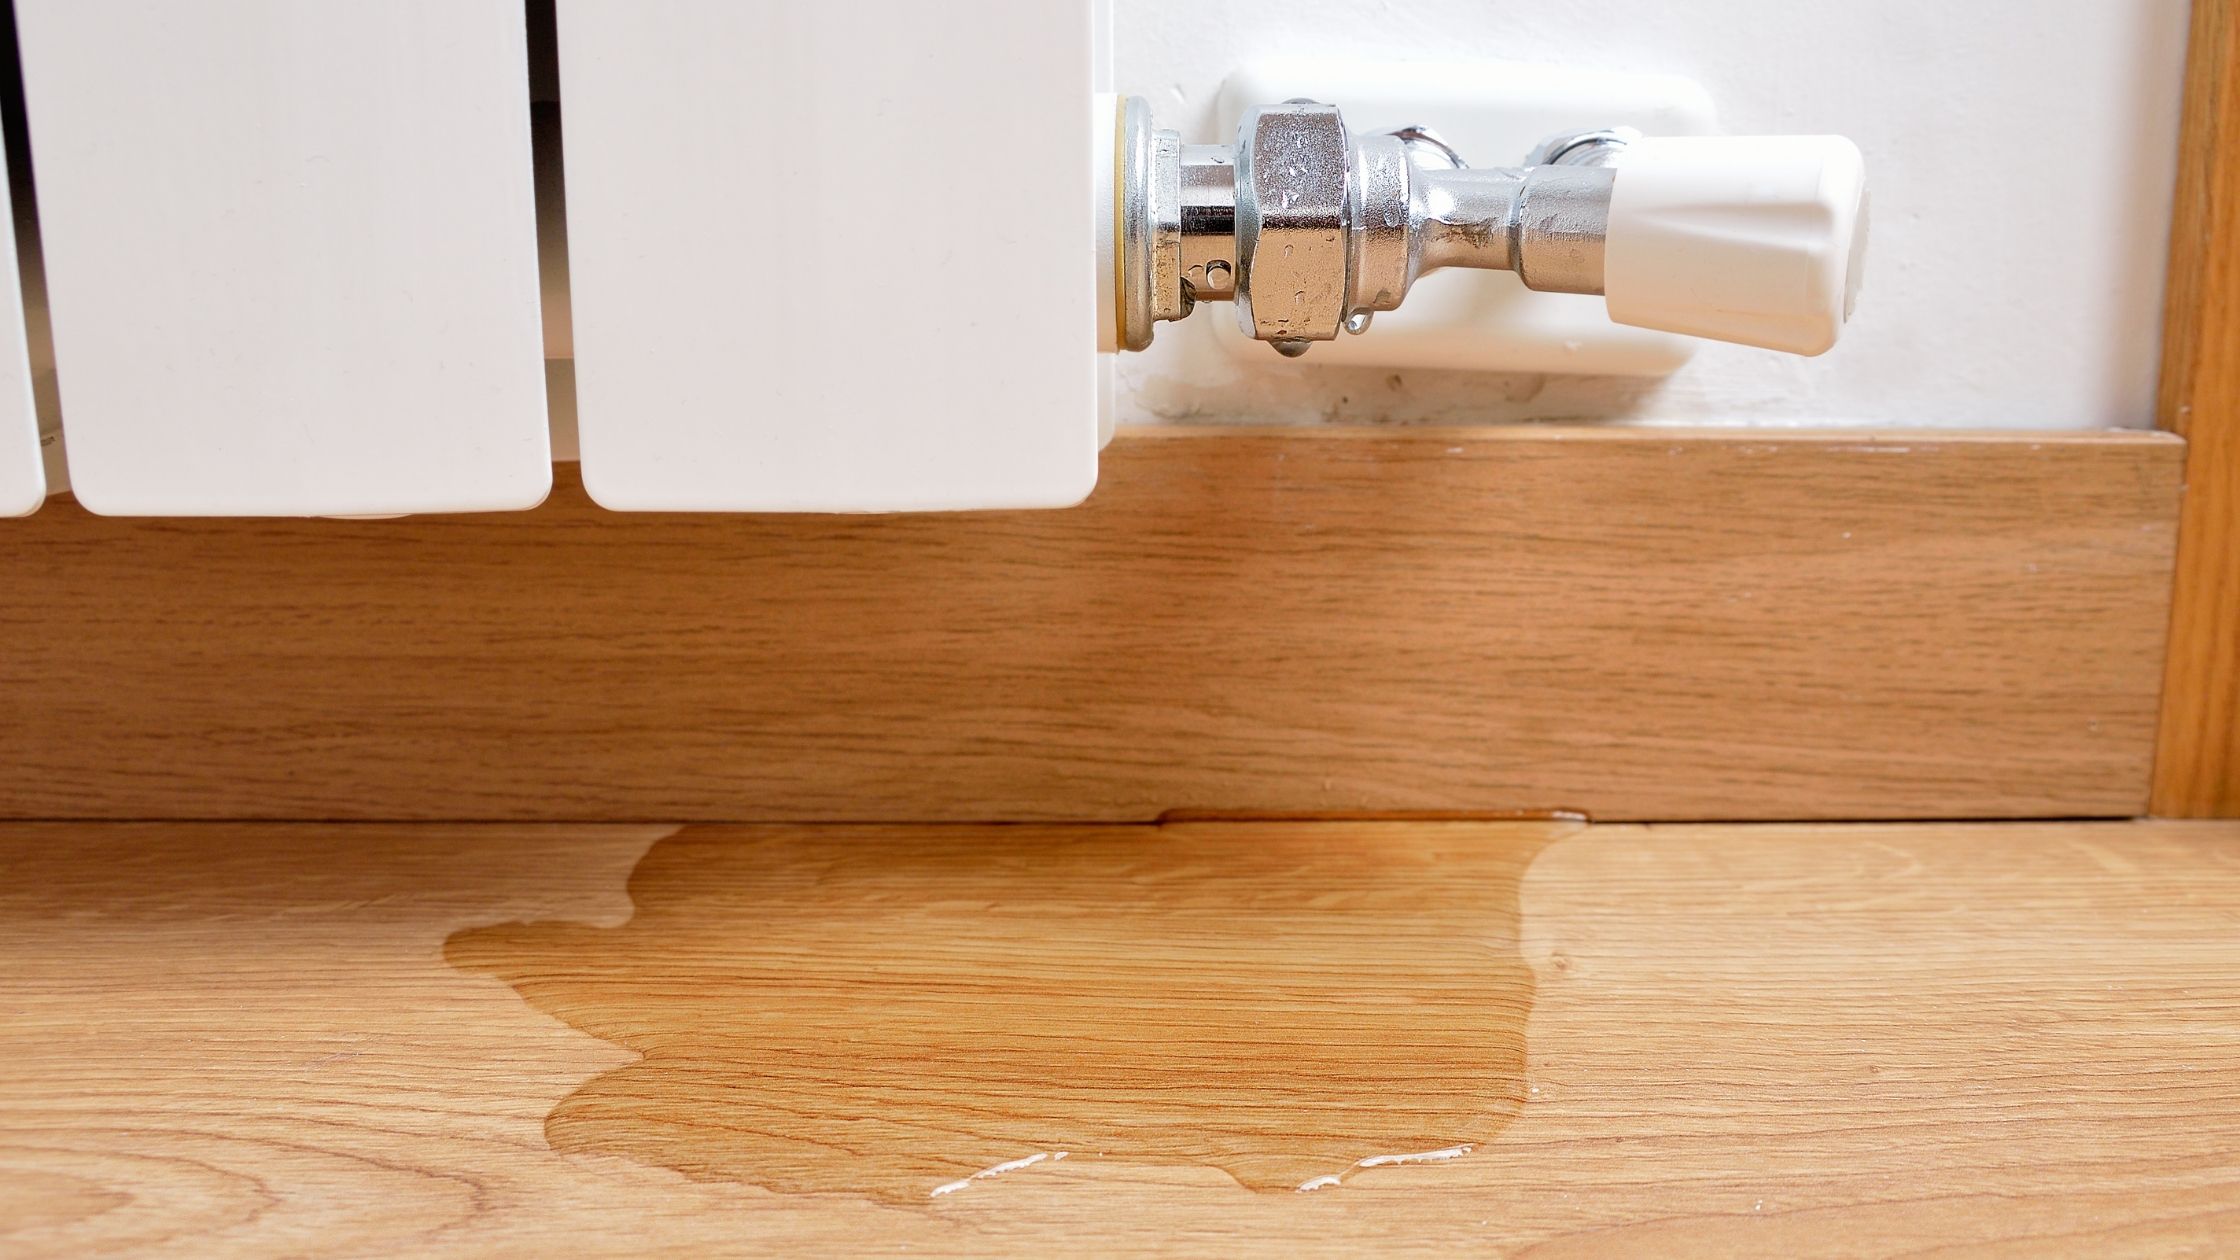
Step 2: Identify the leak
Locate the leak by examining the polythene pipe carefully. The leak may be a visible crack, hole, or a small puncture. Mark the damaged area with a marker for easy reference during the repair process.
Step 3: Release pressure from the pipe
To fix the leaking polythene pipe, it is essential to release any pressure from the pipe. You can do this by opening all faucets and taps connected to the affected pipe.
Step 4: Prep the area
Clean the area around the leak using a cloth or sandpaper. This will help remove any dirt or debris that may hinder the repair process.
Step 5: Apply repair tape
Apply a high-quality repair tape over the damaged area. Make sure the tape securely covers the leak and the surrounding area. The tape should be wrapped tightly around the pipe and should overlap at least two inches on each side of the leak.
Step 6: Apply adhesive
Apply an adhesive layer over the repair tape to secure it in place. The adhesive should cover the entire area of the tape and should be evenly spread to create a strong bond.
Step 7: Test for leaks
After completing the repair, turn on the water supply to the affected area and check for any further leaks. If there are no leaks, the repair has been successful.
In conclusion, fixing a leaking polythene water pipe is a simple task that can be done using a DIY approach. With some basic tools and materials, you can save money on hiring a plumber and fix the leak yourself. Remember to follow these steps carefully and take all necessary safety precautions when working with pipes. By repairing the leak early, you can avoid costly water damages and ensure your plumbing system functions efficiently.